
In the end of 2011 Hewlett-Packard introduced a range of zero clients and described them as “the affordable, reprogrammable and to-smart-to-be-called-a-zero-client, clients”. The clients come in two forms; HP Zero Clients, which are unmanaged, and the HP Smart Zero Clients. which are managed. An overview of the available products can be found on the HP website (link).
I had the opportunity to get some hands-on-experience with a HP t510 (a HP Smart Zero Client) and the HP Automatic Update Server software.
HP t510
 The HP t510 Flexible Thin Client is an affordable ($ 259.00, US HP price) thin client with a duo-core VIA Eden 1Ghz processor, 2GB memory, Via ChromotionHD 2.0 graphics adapter, gigabit LAN and optional 802.11/a/b/g/n WiFi adapter.
Besides the HP Smart Zero operating system the device is also capable of running Windows® Embedded 2009, Windows® Embedded 7 or HP ThinPro (Linux).
The device boots in 22 seconds (and shuts down in 2 seconds) giving the user a good experience. After the operating system is booted a pre-configured system is displayed allowing the user to connect to any of the following environments: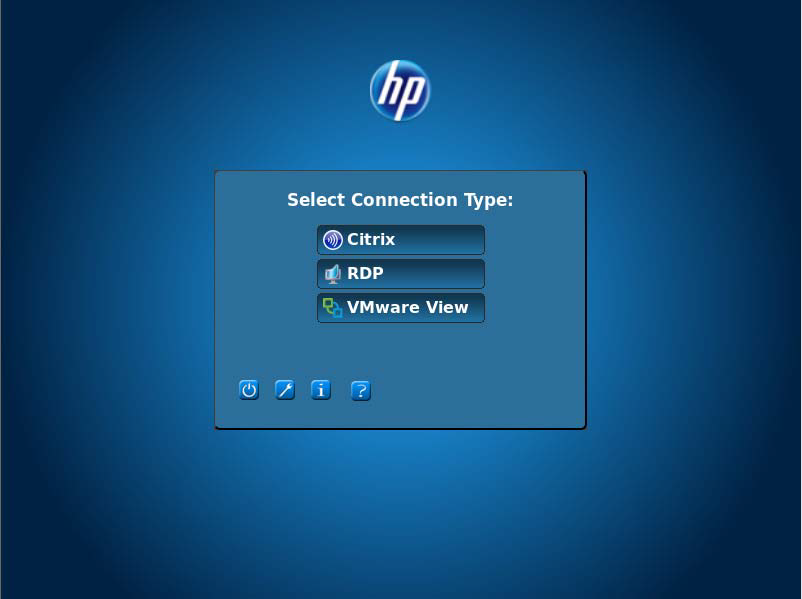
- Citrix XenApp
- Microsoft RDP
- VMware View
The device is marked as “HDX Ready” and is capable of HDX MediaStream 1280*720 Quality Windows Media AND Flash Redirection. Details about the Citrix HDX Ready specifications and compatibility can be found here. The “Zero Client : No” remark on the Citrix site is interesting, the definition of a zero client appears to be flexible. More about the HP Smart Client being a zero client-or-not can be read in this article by Gabe Knuth.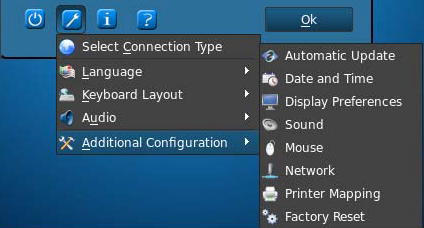
The user has the possibility to configure the device according his preferences, allowing it to configure the mouse, keyboard, screen, language, regional settings and of course the connection settings.
Overall the HP Smart Zero operating system looks very good, its intuitive and well designed. Being “HDX Ready” and capable of client-side rendering of multimedia content makes it an interesting thin client. The out-of-the-box experience (OOBE) is very good and is similar to what the unmanaged HP Zero Clients can expect.
Smart Client
The HP Zero clients can be managed with Smart Client Service, a service that can be installed on a Windows operating system.
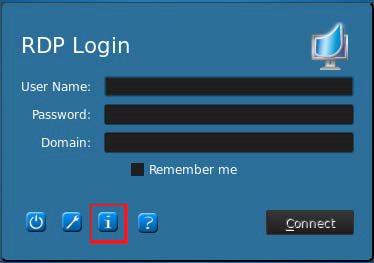
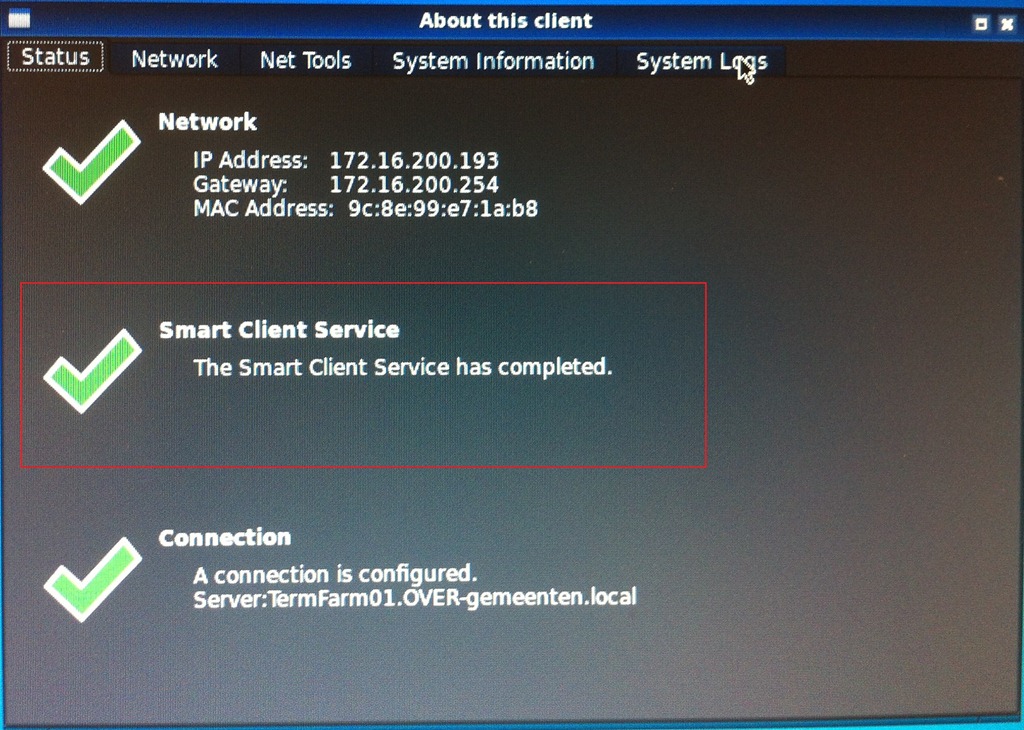
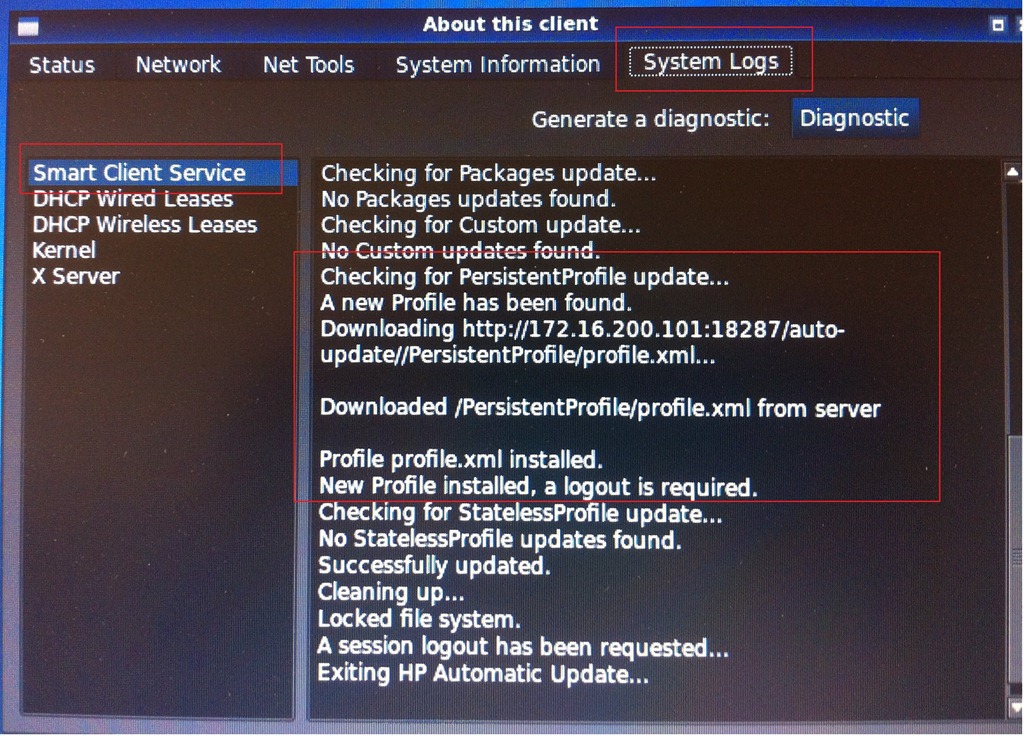
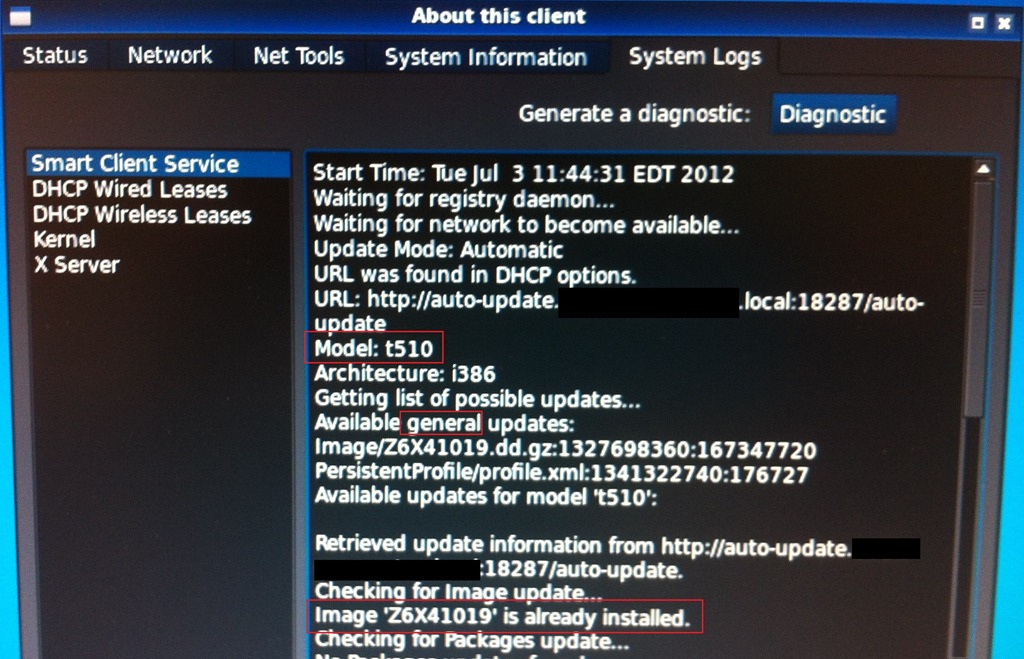
In the HP Smart Zero operating system a user can click the information icon to see the status of the Smart Client Service. Out-of-the-box the Smart Client Service is not configured, clearly visible by the Exclamation mark in “About this client”. After configuring the service this will change to a green checkmark. More information can be found in the system logs.

HP Smart Client Service (HP Automatic Update Server)
The HP Smart Client is designed to detect its update server automatically and to configure itself
automatically on first boot. This greatly simplifies device installation and maintenance. Refer to the
following diagram to see how the device communicates with the server to receive its profile and client
kits.
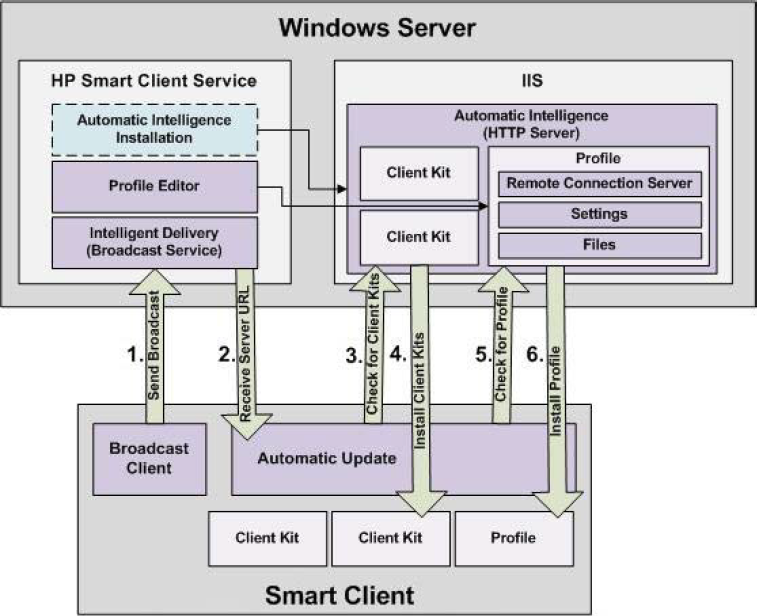
Source: HP Smart Client Service – Administrators Guide
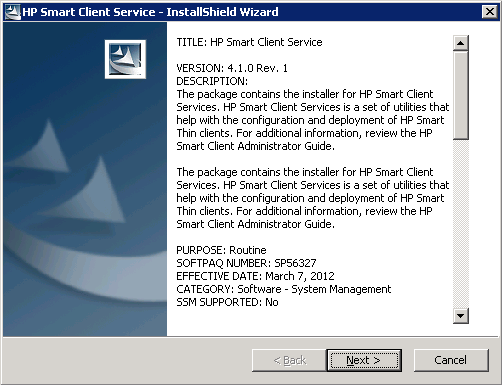
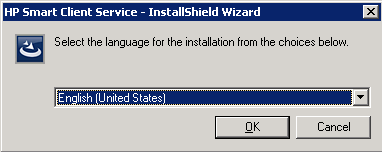
Installation
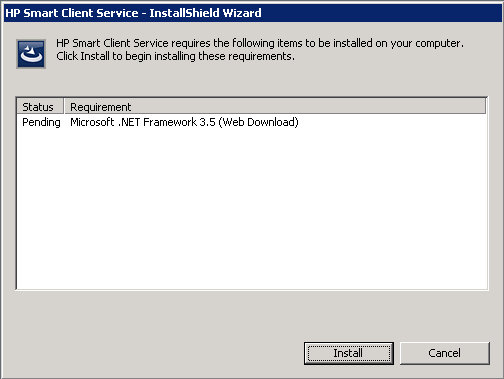
Before the HP Automatic Update Server can be installed you need to install the following prerequisites:
- Internet Information Service (IIS)
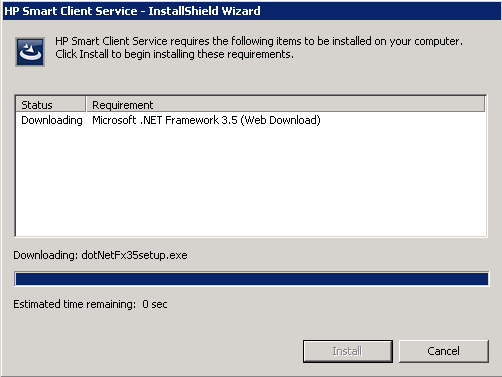
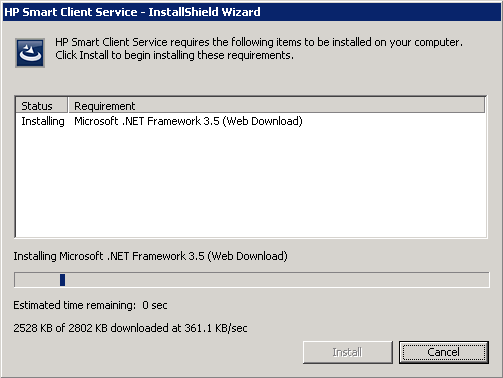
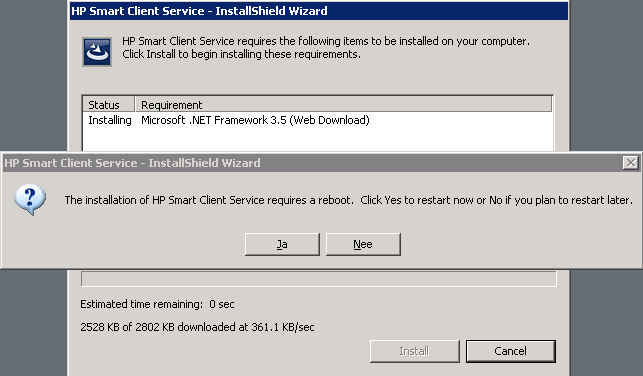
- .NET Framework 3.5 (this can done via the installer)
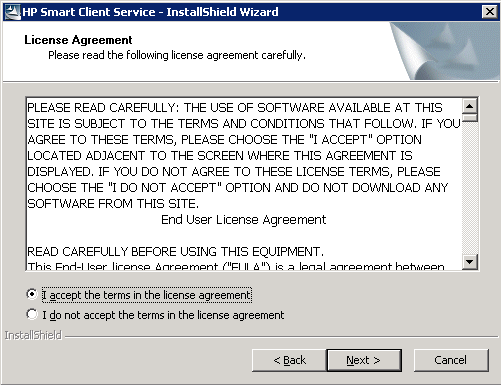
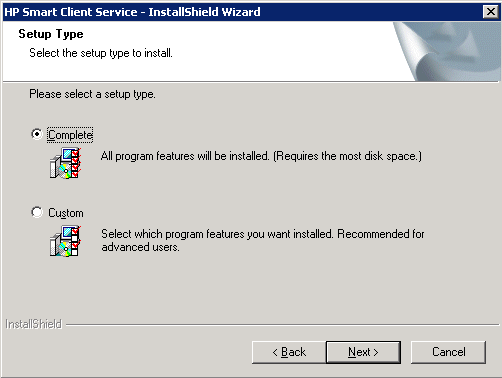
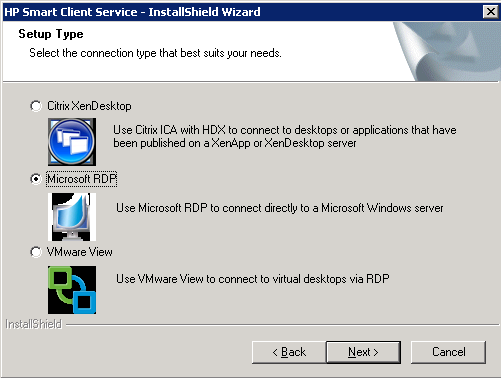
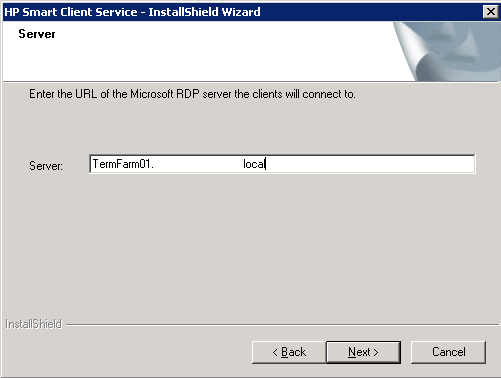
The installation itself is pretty straightforward, the most important choice to make is the connection type that suits your needs. This connection type is provided by default to the clients, but it can be changed afterwards.
Since my customer has a 2X environment (…) I configured the Microsoft RDP connection type.

Installed components
After the installation has completed successfully the following components are installed:
- HP Broadcast Server
- IIS Website “HP Automatic Update”
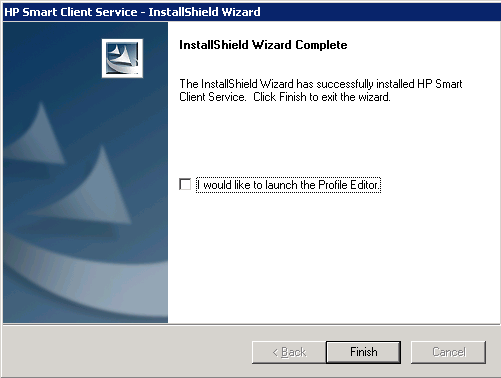
- Profile Editor
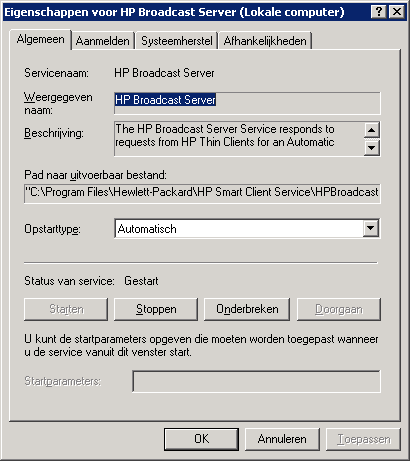
HP Broadcast Server
After a Smart Client has booted it will search for a server that can provide him with updates. If this isn’t configured via DHCP (described below) a broadcast packet [1] is send over the network. Because a broadcast packet is used this will only work if the client is on the same subnet as the service (an IP helper might solve this).
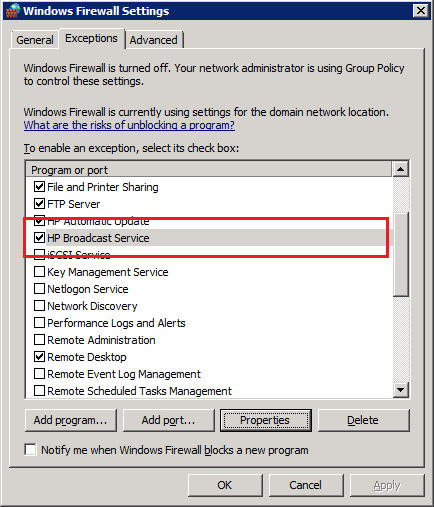
The Broadcast Server is a Windows NT service (started automatically) listens on UDP port 18286. An exclusion in the Windows Firewall is made by the installation. The port on which the service listens can be changed in the registry key HKLM\SYSTEM\CurrentControlSet\Services\HP Broadcast Server\Port.
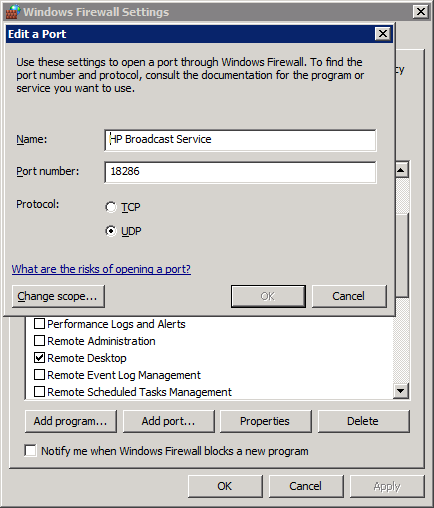
The Broadcast Server returns the address of the IIS website [2] to the Smart Client. The returned URL is specified in the registry key HKLM\SYSTEM\CurrentControlSet\Services\HP Broadcast Server\ServerURL, by default this is set to https://<local machine IP>:18287/auto-update.
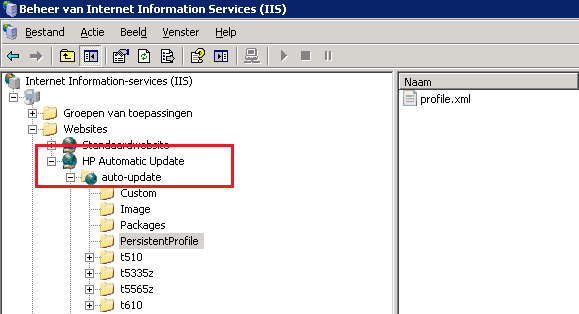
IIS Website “HP Automatic Update”
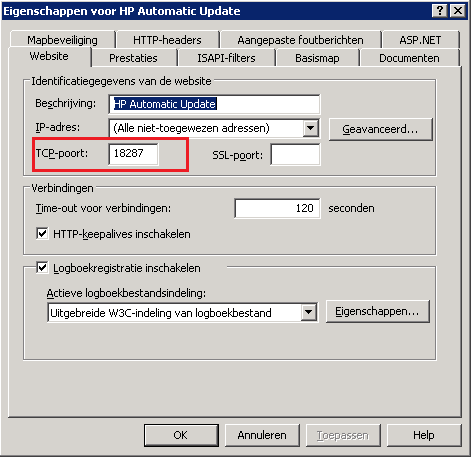 Both the configuration as the boot-image files (the operating system) are supplied via a IIS website. The Smart Client connects via HTTP or HTTPS [3] to the web application and searches for updated files [4]. By default the IIS Websites listens on TCP port 18287, this can be changed in the properties of the IIS website.
A web application with the name “auto-update” is mapped to %Installdir%\auto-update (by default %ProgramFiles%\Hewlett-Packard\HP Smart Client Service\auto-update), this is where both the configuration as the boot-image files are stored.
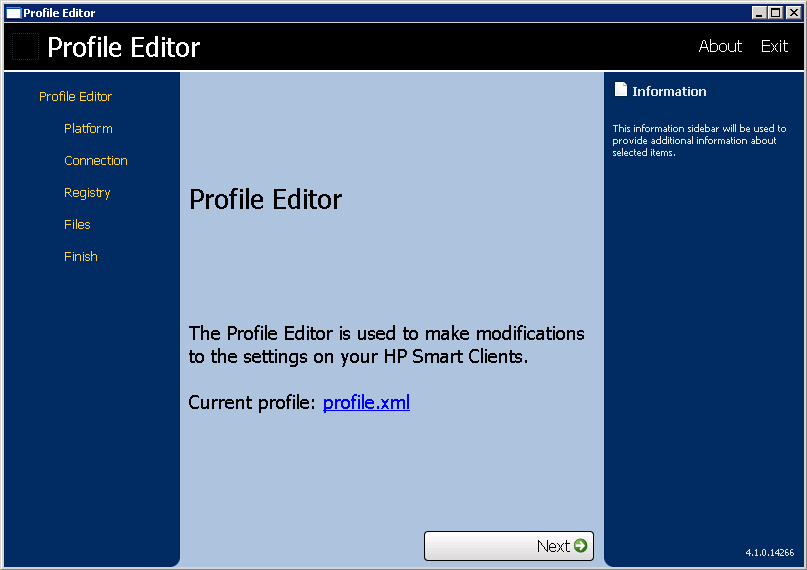
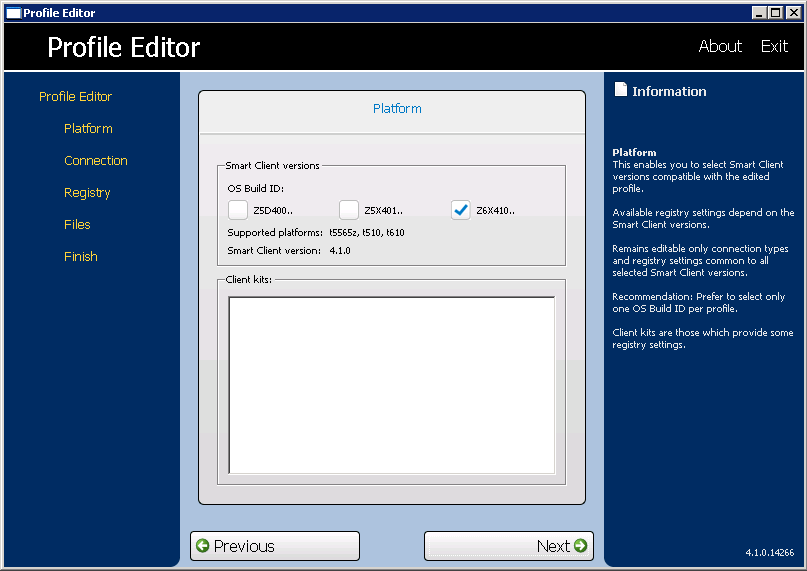
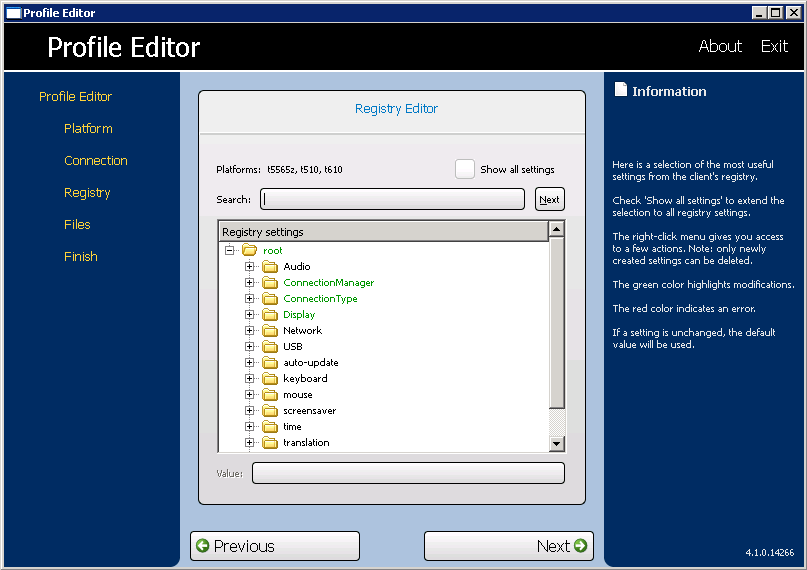
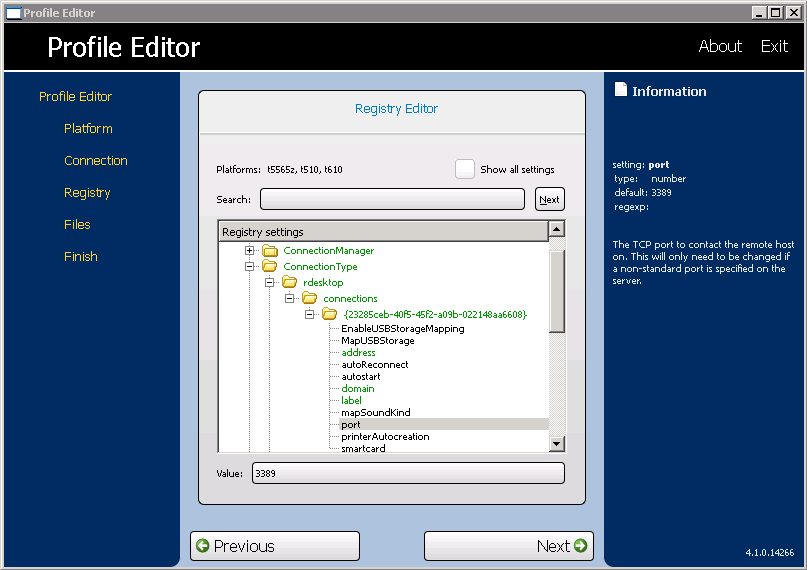
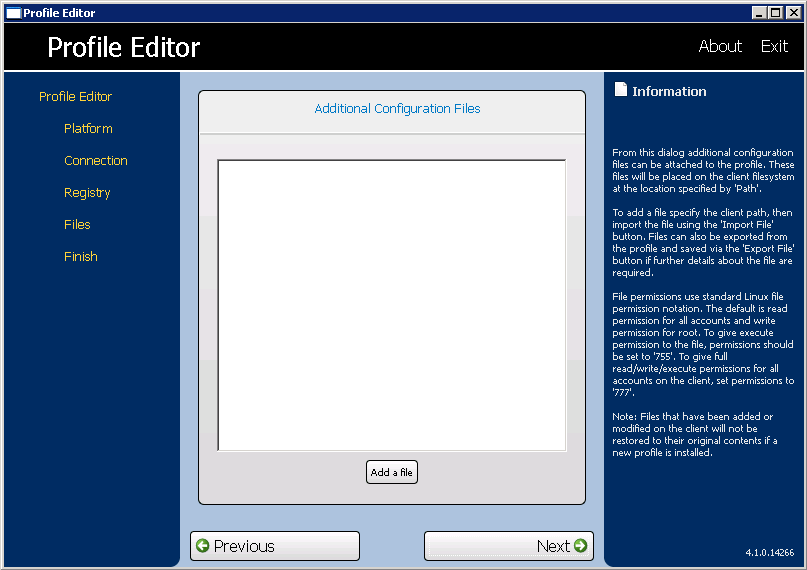
Profile Editor
To configure the Smart Client a profile editor is supplied, it can be found in the menu start (All Programs > Hewlett-Packard > HP Automatic Update Server > Profile Editor).
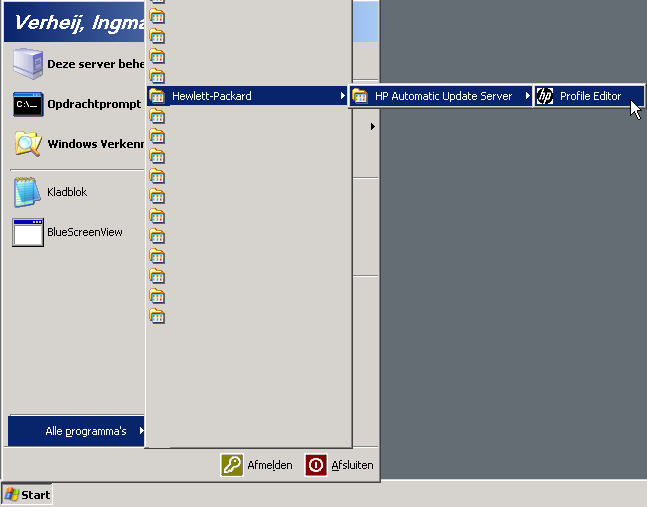
The Profile Editor a very basic configuration utility, it is more an XML parser that enables with some (basic) explanation. It is a big contrast with the flashy / well designed / intuitive / user friendly user-interface of the thin clients.
DNS/DHCP configuration
To provide the thin clients with the address of the HP Automatic Update Server it is recommended to use DHCP options (instead of a broadcast packet or manual configuration). Since DHCP is required to provide an IP address to the clients this is usually an convenient way of providing the configuration.
The address of the HP Automatic Update Server are provided in DHCP option 137 (string value) . The complete URL needs to be supplied (example : https://auto-update.domain.local:18287/auto-update).
If option 137 is not found in the DHCP lease the thin clients tries to resolve the hostname auto-update to an IP address via the DNS server. If a hostname can be resolve the Smart Client will try to retrieve the configuration from this address without the addition of the ‘auto-update’ folder, and will probably fail (404 errors are logged in the IIS W3C logfiles). The client won’t send a broadcast packet!
Microsoft DHCP server
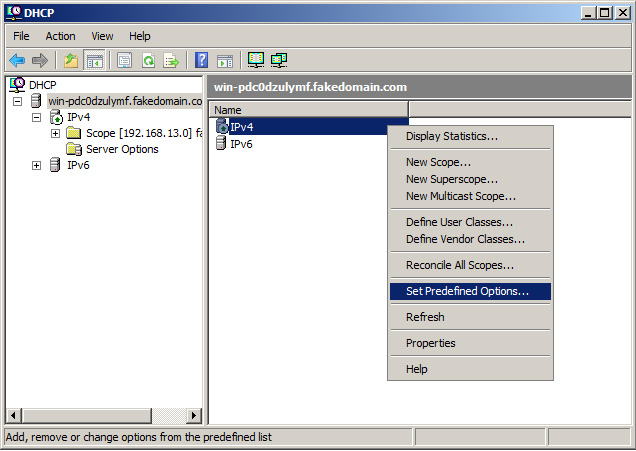
The following procedure explains how to do DHCP tagging in a Windows 2008 R2 Server.
- In the left pane, select the Domain to which the thin clients are connected.
- Right-click IPv4, and then select Set Predefined Options.
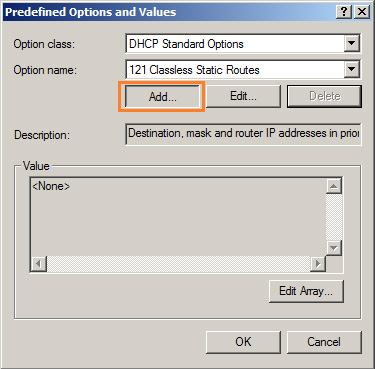
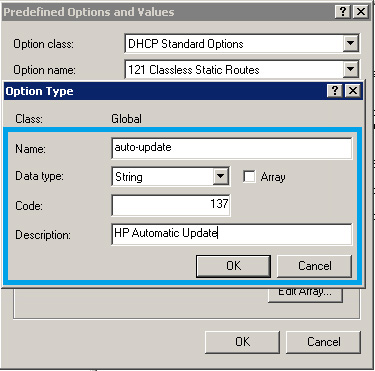
- In the Predefined Options and Values dialog box, click Add.
- In the Option Type dialog box
- In the Name field, type auto-update.
- Select String from the Data type menu.
- Type 137 in the Code field.
- Type HP Automatic Update in the Description field.
- Verify that the information is correct and click OK.
- In the Value section, type the update server address in the String field.
- Example: https://auto-update.domain.com:18287/auto-update
- Click OK to finish the setup.
Source: HP Smart Client Service – Administrators Guide

Linux DHCP server
If your using a linux server as your DHCP server you’re probable using dhcpd (DHCP daemon). You can add the auto-update option with the following lines in dhcpd.conf.
option autoupdate code 137 = string
option autoupdate https://auto-update.domain.com:18287/auto-update
Distributing client image / configuration
The most important job of the HP Automatic Update Server is distributing configurations (and maybe new client images). This is all done via the web traffic (HTTP or optionally HTTPS), pulled by the HP Smart Client from the HP Automatic Update Server.
The default installation location is %ProgramFiles%\Hewlett-Packard\HP Smart Client Service\auto-update. This folder contains a number of subfolders
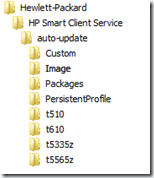 Custom – Unknown
 - Image – Client image files for all device types
- Packages – Additional packages for all device types
- PersistentProfile – Configuration for all device types
- t510 – Device specific (HP t510) images, packages and configurations
- t610 – Same as t510
- t5335z– Same as t510
- t5565z– Same as t510

Client image
As with any operating system the HP Smart Client is updated to enhance the product with new features and solve issues. Updating the (almost) zero client is very easy by placing the client image on the HP Automatic Update server.
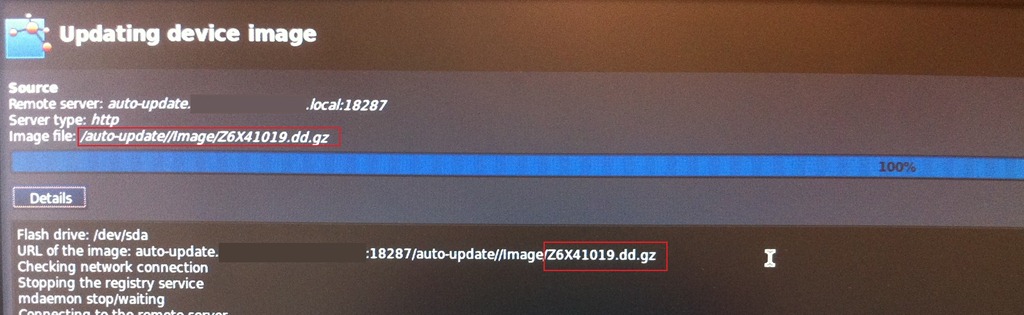
If you want all devices to download the same client image the file needs to be placed in %Installdir%\auto-update\Image, if you want a specific device type (like the t510) to update with a client image you need to place the file in %Installdir%\auto-update\<devicetype>\Image. The device will detect the image during the auto-update (usually during boot) and update the operating system.
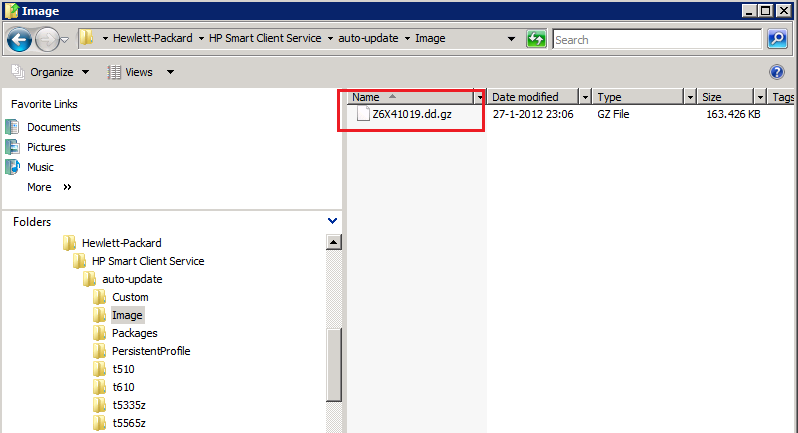 At the moment of writing this article the most recent image for the HP t510 is version Z6X41019 Rev.1. After expanding the downloaded file (sp56493.exe) you will have a file with the name Z6X41019.dd.gz, after placing this file in the Image folder the HP Smart Client will automatically replace the client image.
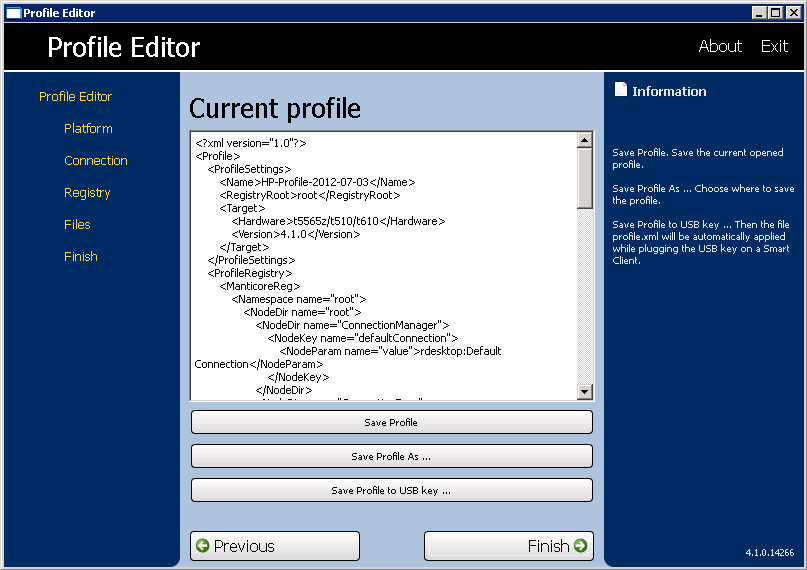
Configuration
With a Smart Client Zero and the HP Automatic Update Server you’re able to distribute the configuration of the thin client device. This configuration is “nothing more” than an XML (profile.xml) file that contains the settings for the device. Distributing this configuration is done in the same way as a client image file, but this time the files are placed in the PersistentProfile directory.
If you want all devices to download the same configuration the file needs to be placed in %Installdir%\auto-update\PersistenProfile, if you want a specific device type (like the t510) to update with a client image you need to place the file in %Installdir%\auto-update\<devicetype>\PersistentProfile. The device will detect the image during the auto-update (usually during boot) and update the operating system.
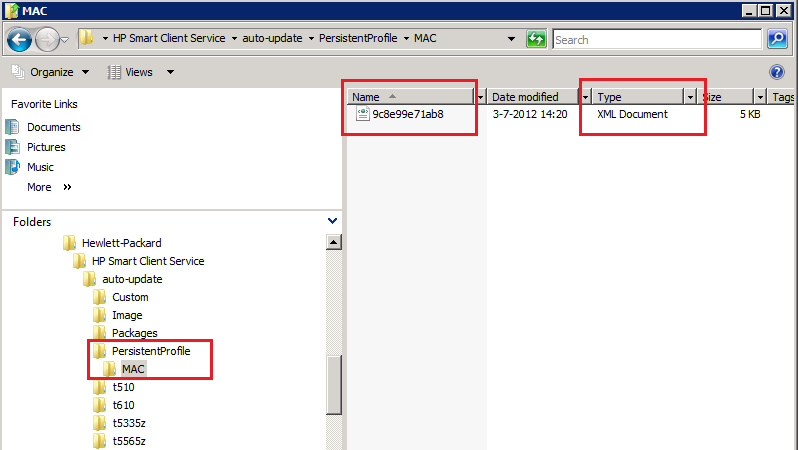 If you want to distribute a configuration to a singe client device (for testing purposes) you can create a subfolder MAC in the PersistentProfile folder and name the configuration file <MAC>.xml.
Conclusion
The HP Smart Zero Client is an attractive solution that gives a good user experience for a decent price. With the HP Automatic Update Server its easy to distributing client images and configurations, making the thin clients a zero client with a twitch.
The lack of device management, reporting and administrative roles is really a missed opportunity. Its because of those missing functionalities it’s not a management tool, an enterprise environment demands these functionalities.
Great article. Thank you for detailing the missing components to getting HP Thin Clients to work with Windows 2008 Server
thanks for this article. it explained a lot more information i was missing or needed more clarification.
Good article,
a new version Z6X43101 is available
http://h20000.www2.hp.com/bizsupport/TechSupport/SoftwareDescription.jsp?lang=en&cc=us&prodTypeId=12454&prodSeriesId=5226831&prodNameId=5226832&swEnvOID=4116&swLang=13&mode=2&taskId=135&swItem=vc-117636-1
My work is considering getting some of these, the question is, can it run dual screen RDP at full resolution?
We have a Wyse thin client that claims to run dual monitors but then will not detect the vga monitor’s resolution and wont allow it to be set past 1024×768.
Thank you, configuring the DHCP options with the auto-update address corrected my issue of the clients not getting updates.
I can’t redirect a sound recording on HP t5335z. In Windows’RDP file there is an audiocapturemode parameter which is responsible for the sound recording redirection. Where it is possible to change the audiocapturemode parameter on 1 in t5335z?
I have a problem with installing a lokal USB printer HP LJ 2055DN. I cant see the printer in the remote session…Any ideas?
Good article. I still have yet to find a way to upgrade a specific thin client via Auto-Update services. You can build a specific profile to the MAC address easy enough. But, it still looks like you are forced to upgrade the software at the model level.
It doesn’t seem like you can test upgrades. It’s an “all-or-nothing” effect. I’ll be more impressed if HP gave us image-specific updates also, for testing.
Where on earth or web whatever do i find the install of HP Smart Client Service
The HP Smart Client Service is software that’s part of the client OS (you can find the firmware for your device at the HP site). At the download section of each device, for instance the t510 as mentioned here, the Automatic Update Server software can also be downloaded .
Above article is very good and in details;
i facing some issue that HP Smart Zero Client is not getting profile update on MAC address , which i have define under “C:\Program Files (x86)\Hewlett-Packard\HP Smart Client Service\auto-update\PersistentProfile\MAC\.xml” and they are getting update from default profile.xml.
My Thin client is getting DHCP ip address but i don’t want to configure HP smart client path in DHCP.
so i have to change anything so that smart zero client get update as per there MAC address define
I am able to resolve my issue by modify the default profile and after that created one more profile will all customization and put in MAC folder as discussed on above article and after that my Thin client are getting there profile as per the MAC address.
We’re a group of volunteers and starting a new scheme in our community.
Your website provided us with valuable information to work on. You’ve
done a formidable job and our entire community will be grateful to you.
We just bought some HP t410 Smart Zero Clients. Do we use both the HP Device manager and HP Client service? I’ve been reading the documentation on both and there seems to be some guess work involved. Can you elaborate on what each of the management tools offers? I haven’t had a chance to install the HP client service and I was wanting to know if there is a place to configure the VMware connection servers in the Profile editor.
Thanks.
Really struggling setting the layout on the keyboard, if I leave the setting default it sets US layout if I alter this to gb or en or it sets Belgium I am using the profile editor 5.1.0.27213 with the os build z6x440 to deploy to the t410 aio, any help with this would be appreciated
the .xml feature does not work, dont bother, you need to delete profile.xml for it to work which means that no other machines will update their configurations, using mac and profile together makes the terminal only pickup profile