 I tried importing a Citrix NetScaler Virtual Appliance on a Windows 8.1 machine and received the error “Hyper-V did not find virtual machines to import from location”. Importing the same appliance on Windows Server 2012 did work.
The cause of this error is that the virtual machine is exported from a Windows Server 2008R2 server (running Hyper-V 2) and Microsoft deprecated the WMI root\virtualization namespace v1 in Windows Server 2012 (Hyper-V 3) and removed it Windows Server 2012 R2 (see TechNet). There’s no support for the old WMI format.
Background
When a virtual machine is exported using Hyper-V 2008 R2 three folders are created:
- Snapshots
- Virtual Hard Disks
- Virtual Machines
 In the Virtual Machines folder a file with the name {GUID].exp exists that contains the specification of the virtual machine, including all hardware devices. The hardware is addressed using WMI using the deprecated WMI format (root\virtualization).
Starting Windows Server 2012 (Hyper-V 3) the configuration is not stored in a .exp file but in a .xml file, specifying the hardware using the WMI format root\virtualization\v2. For more details see Microsoft TechNet.
Workaround
The workaround that’s available is to import the Citrix NetScaler Virtual Appliance in a Windows Server 2012 Hyper-V (no R2) machine and export it using the new WMI format (root\virtualization\v2),. This of course requires you to have a Hyper-V 2012 machine available. In case you don’t have it available, I provided the XM, you can find it at the bottom of this article.
Option 1) Import and export
Import
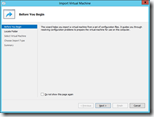
- Open Hyper-V Manager
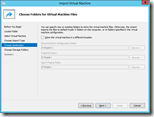
- Click on Import Virtual Machine
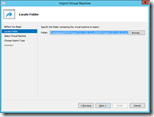
- Specify the location of the (extracted) Citrix NetScaler Virtual Appliance
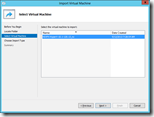
- Select the virtual machine to import
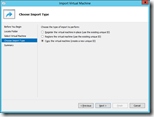
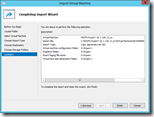
- Choose the import type: Copy the virtual machine (create a new unique ID)
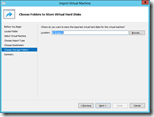
- Choose the destination and storage folders
Export
- In Hyper-V Manager select the imported virtual appliance
- Click Export
- Specify the export location
You can now import the exported virtual machine in Windows Server 2012 R2 (or Windows 8.1)
Option 2) Use my XML file
- Extract the Citrix NetScaler Virtual Appliance
- Remove the existing .exp file
- Place the 55A0A2A9-2571-4F7F-88B3-763E3BC0169E.XML file (for link see below) in the Virtual Machines folder
You can now import the exported virtual machine in Windows Server 2012 R2 (or Windows 8.1)
Download
You can use the virtual machine configuration file here: 55A0A2A9-2571-4F7F-88B3-763E3BC0169E.zip
Support
At the moment of writing Citrix NetScaler (10.1) does not support Windows Server 2012 (R2), hence why the import doesn’t work. The solution provided is only for testing purposes.
.


Option 3: create a new VM with the correct specifications (2 vcpu and 2gb ram) with no harddisk en copy/paste the netscaler vhd to the newly created VM folder, then modify the vm to use that vhd.
Hey Ingmar,
Excellent article.Thanks a lot for sharing the downloading links here.
Thank you for providing your XML-file! Worked like a charm.
Works like a charm. Thanks mate
Thanks for this, man! I was stuck in a rut, looking thru the .xml and .exp files trying to find what they pointed to, and what I could to import this damned appliance… Option 2 did the trick as I did not want to spin up a 2012 vm, and my experience w/ Hyper-V is limited to 2012 R2. Anyway, thanks again!
You’re welcome!