
For certain (more complex) tasks you might need terminal access to your Synology NAS. Enabling terminal access to your Synology NAS is done quite easily.
You can enable both Telnet (non encrypted – insecure) or SSH (encrypted – more secure) access.
Enabling the services
Terminal access is enabled by enabling the Telnet or the SSH service via the Control panel. This is done in four easy steps:
- Open the Control Panel
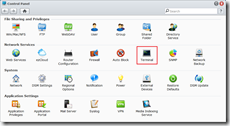
- Open the Terminal applet (under Network Services)
- Enable the Telnet and/or SSH service
- Apply the settings
You can access the Synology NAS via a Telnet/SSH client like PuTTY (link).
Enable remote access
If you want to access the Synology NAS from outside your network you need to setup port forwarding on your router. If your router is supported (see Synology WIki) you can configure the port forwarding and firewall configuration from the admin webpage.
- Open the Control Panel
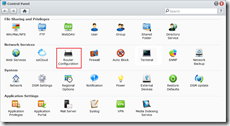
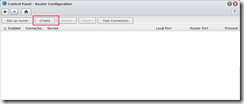
- Open the Router Configuration applet (under Network Services)
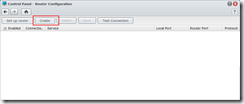
- Click Create
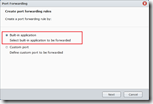
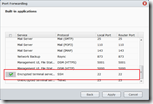
- Select “Built-in application”
- Enable ‘"Encrypted terminal service (Includes encrypted Network Backup)
- Save the configuration
Shell In A Box
Another great way of accessing a shell is via Shell In A Box. Shell In A Box implements a web server that can export arbitrary command line tools to a web based terminal emulator.
Missile Hugger created a package for both ARM and x86 processors, you can find the package here.



http://missilehugger.com is stop updating and the server is down from january 2015 🙁
Hey mate,
Have a look at xpenology (a synology hack). I built my own Synology 3 years ago. Rock solid, but lacking some non-critical features.
Cheers!