 In a previous article I wrote that for streaming vDisks to endpoint you don’t necessarily need PXE, you can also attach an ISO to the virtual machine (“Who needs PXE for Citrix Provisioning Services?”). Although this eliminates the dependency for a PXE server (which is challenging to make high available), mounting an ISO file to the CD rom of a virtual machine creates another problem in some hypervisors.
When a hypervisor host needs maintenance a (storage) vMotion is a good way of moving all systems with no downtime. Mounting an ISO file breaks the ability to vMotion with some hypervisors.
Citrix XenServer and VMware vSphere 5 (Hyper-V I’m not sure of) can mount ISO files from shared storage, so this does not apply to all situations.
Fortunately the bootstrap can also be placed on a virtual hard disk (VHD). In this article I’ll guide you step-by-step how this is done. In this example I’m using VMware vSphere 5 but most steps are equal for other hypervisors.
1. Creating the virtual hard disk with bootstrap
First we need to create a virtual hard disk (VHD) where the bootstrap is stored. This can be a small disk, 10 MB is more than enough, that you should store on shared storage. If you store the VHD on local storage it is impossible to vMotion, you might as well stick with an ISO.
A virtual Citrix Provisioning Services (PVS) server is not required, the boot device manager (BDM) can also be ran from a different system. More information about boot device manager can be found in Citrix eDocs.
1.1 Creating the VMDK
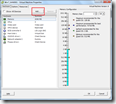
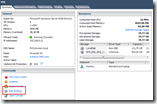
Select the machine where you want to create virtual hard disk in the vSphere Client (in my example the PVS server) and select ‘Edit Settings’. Create a new virtual hard disk with a capacity of 10MB, accept all other default settings.
1.2 Initialize the disk in Windows
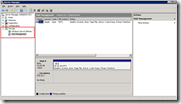
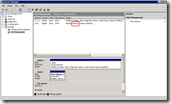
After the VHD is created and attached to the virtual machine the disk needs to be initialize in Windows before it can be used. In the Windows machine open the Server Manager and expand the node Storage > Disk Management.
If you’ve hot-added the disk you might need to rescan for disks by right clicking the node Disk Management and selecting ‘Rescan Disks’.
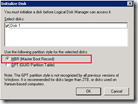
Disk Management will detect a new disk and will ask to initialize the disk. Select MBR (Master Boot Record) and click OK. The disk is now visible but has no partitions, it is marked as ‘Unallocated’.
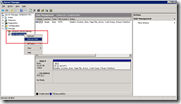
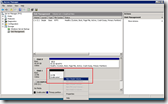
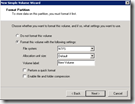
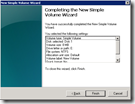
Right click the ’Unallocated’ partition and select ‘New Simple Volume’. Accept all defaults, the partition will be recreated by boot device manager anyway.
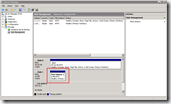
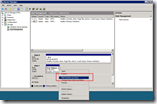
The partition needs to be activated. Right click the ‘New Volume’ partition and select ‘Mark Partition as Active’.
1.3 Add the Citrix PVS bootstrap
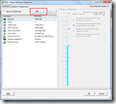
Now we have an initialized virtual hard disk we can add the PVS bootstrap on the disk. Locate the ‘Provisioning Services Boot Device Manager’ in the start menu and launch the application.
Configure the bootstrap to match your environment (don’t use the same as in the screenshots, they might not apply for you).
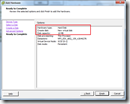
In the last step choose the right Boot Device. A list of disk and partitions is shown, you need to select the VMware Virtual disk 1.0 Partition offset 0MB, size 8MB.
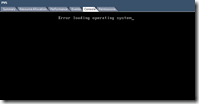
It is possible to store the PVS bootstrap on a disk instead of a partition but that comes with a challenge, it is unclear which ‘VMware Virtual disk 1.0’ is the PVS system disk or the 10MB disk for the bootstrap. If you choose the wrong disk (like I did) you’ll ruin your PVS server (Error loading operating system).
1.3 Detach virtual hard disk from
We can now detach the virtual hard disk from the server where we placed the PVS bootstrap on the virtual hard disk. You can do this by opening the settings of the server in the vSphere client, selecting the Hard disk you added in step 1.1 and clicking on ‘Remove’. Keep the default ‘Remove from virtual machine’ and don’t delete the files from disk, otherwise your work is lost. 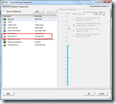
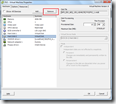
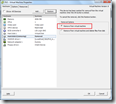
You can now move the virtual hard disk (the .vmdk) file to another location if you want to. By default the .vmdk file is stored in the same folder as the virtual machine, but this is not mandatory.
2. Mounting the virtual hard disk to PVS endpoints
Now we have a virtual hard disk (VHD) containing the PVS bootstrap we can mount the disk to the PVS endpoints, instead of an ISO file as explained in “Who needs PXE for Citrix Provisioning Services?”
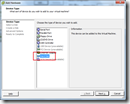
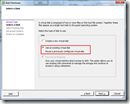
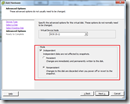
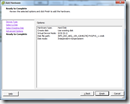
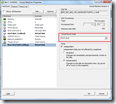
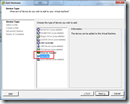
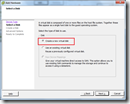
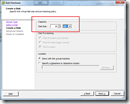
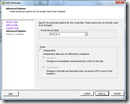
Edit the setting of the virtual machine and add an existing virtual disk. We’re reusing the previously configured disk from step 1. If you’ve changed the location of the .vmdk file you should point to that location. Change the mode to ‘Independent, nonpersistent’. 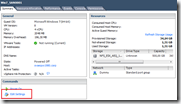
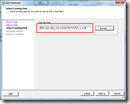
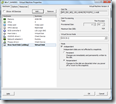
If you already had a virtual hard disk attached (for instance for the PVS write cache) you need to change the Virtual Device Node so the VHD containing the PVS bootstrap is the first hard disk: SCSI (0:0). 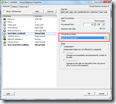
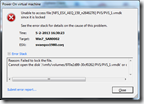 Note: If you don’t change the mode of the disk to ‘Independent’ the disk cannot be shared by multiple endpoints, when a second machine boots you’ll receive the following error:


I had a customer that needed a backup for when DHCP was out of order.We made a boot iso, but the problem is that with a boot iso the PVS adapter will always be the first NIC of the Virtual Machine.
This customer had 2 NIC’s and the 2nd NIC was for PVS. If you changed this order in the advanced settings of the VM (vsphere in this case),then the PVS boot worked fine, but the OS gave a BSOD during the start of w2k8r2.
Is it possible to change the boot iso or disk in such a way that it boots from NIC2?
Jan
Hi Jan,
Both NIC’s needs to be installed in Windows before the PVS target device software is installed. If you add the NIC afterwards it cannot stream the vDisk via that NIC.
http://forums.citrix.com/message.jspa?messageID=1579690
PS: Don’t forget to configure the same type of NIC in vSphere (E1000 or VMXNet3)
Ingmar
http://blogs.citrix.com/2013/09/02/delivering-the-pvs-bootstrap-via-http/
I successfully test Load Balance PVS TFTP using NetScaler.
Here the steps:
1. enable Web server in PVS
2. copy ARDBP32.bin into C:\inetpub\wwwroot
3. change DHCP option 67 to http://pvs.domain.local/ARDBP32.bin
4. add pvs.domain.local into dns
5. configure NetScaler
create server pvs
create monitor pvs http
create service pvs
create vserver pvs
For sure it works but by default all traffic flows through the NetScaler. As a result the load on your NetScaler is massive. Direct-Server-Return mode (DSR) could help with overcoming this issue (http://www.ingmarverheij.com/citrix-netscaler-dsr-poor-mans-load-balancing-solution/) but has it’s downsides as well.
In the end, “it depends”
“For sure it works but by default all traffic flows through the NetScaler”.
All traffic as in all TFTP boot file delivery traffic (which is relatively small considering that the ardpb32.bin file is about 34k) or all vdisk streaming traffic which should not be (if the stream servers included in the boot file is not a NetScaler VIP?
DSR, USIP etc and all the previous complexities associated with TFTP load balancing in pre NetScaler 10.1 are no longer applicable with native TFTP load balancing available in NS 10.1 though that is not to say using a boot ISO is less attrative.
Great article and thank you for your help. I have one question, with the BDM hard disk in independent mode (non-persistent), I am unable to convert that vm into a template for creating more servers. How do I go about spawning new PVS guests with the BDM information? Thank you.